Showing posts with label Cart. Show all posts

Wednesday, September 28, 2011

Day Forty-Two

     Today was a pretty successful day. I got down, and got to work. I cut through the non-drive side supports, which were significantly harder than the drive side, due to right-hand dominance and awkward angles. Eventually I got most of the way through the last support, and just turned it around until it came off. It was a feeling of pure victory. I then tightened up the hose clamps holding the fork to the cart, added two more at the bottom, and tightened those to near-dangerous levels, and I'm somewhat worried about it pulling the fork apart slowly over time, I think it should be alright though, if it's not, I'll just get an axle, or even a quick-release skewer, and put it through the front dropouts to prevent expansion, but I don't think that'll be necessary.
     Finally, after all that, I sprayed a few coats of Clear Coat (that sounded redundant) onto the seat to protect it a bit more. Ideally I'll be able to build up a plastic (Apparently Plasticine is a modelling clay...)  layer on top of the duct tape to protect it from wear and weather. I'm not sure if it'll be soft or rigid, we'll just have to see, I I honestly wouldn't mind a whole bunch. I also taped up the non-painted surfaces of the forks, and gave one side a coat of primer, albeit a thick coat. They were slightly different shades of black, and the primer I have matches the shopping cart well, and the more colors that match on this bike, the better.


For Science!


I got halfway through this cut, but then I realized that it was a bad place for a cut and wouldn't look aesthetically pleasing, and almost as bad, it might be dangerous.


Where the new cut was, much cleaner looking.


I thought that having a perfectly straight tube would be good for sticking flags or antennas or polo mallets in.


But then I took a break, and saw the ends of the forks... Realistically, they'll be covered up by some coin and epoxy-based mechanism to keep rain out.


Also, while I was taking a break from sawing, I took the plastic seat lid off, it was cramping my style. That said, I might put it back on, it completes the appearance of the cart.


The plastic seat lid.


Also, I saw this label, and very promptly removed it.


This is what Victory looks like. This is the kind of scene that Nike dreams about.


I'm so happy to be done with this stage, also oil is covering my floor...


The new hose clamps at the bottom of the fork.


This may pose some danger, it's kind of sharp. But it's also difficult to come in contact with, and the entire cart is uncomfortable... I'm thinking that adding pool noodle foam in strategic locations would be beneficial.


It's perfectly symmetrical. For aesthetic reasons mainly, though keeping equal pressure is important too.


The other side.


The forks after they've been taped and had a one coat of primer. (Still Wet)

Day Thirty-Five

      I cut through the other post on the drive side, and it was made incredibly easier by using some 3-in-1 oil. At the time I thought that three in one did an absurd amount of work, reducing the cutting time by 30-odd minutes, but I also found out just this night that the post was actually skinnier than the first one I cut through, and had thinner walls. Oh well. Two more to go.


 Copious amounts of Oil.


Drive side done!


     I apologize for not posting in two weeks, I meant to post this the day that it occurred, but I've been having technical issues/am just getting my act together now.

Wednesday, September 14, 2011

Day Twenty-Eight

       I got to work sawing off the supports of the wheels on the cart. It took a very long time. The better part of an hour to cut trough one of the four points. This is going to b a long week.


Before sawing.


Admittedly, 70% of that was accomplished during "rage mode" in the last five minutes.

Saturday, August 27, 2011

Day Ten

     Last night Jeffrey came over and we pulled an all-nighter (along with numerous trips to the shed, which is really scary at night!) to ready the cartbike Mk. 1 for road tests. It was incredibly intense, think every shop montage you've ever seen, we were using arc welders, and hammers, and circle saws, and scroll saws, and forklifts, and cranes, and jackhammers. We used none of those things. Some plaid duct tape on the seat, some zebra print rim (duct) tape, threw the tire on, then hose clamped the fork to the cart. In our case, the more you tightened the fork, the more the rear wheels of the shopping cart rose off the ground. Right now I've got it tightened so that the rear wheels aren't touching the ground, but with the added weight of a person (or two) they touch, and the connection to the bike is pretty stiff. 
     There is also a bit of bad news, the bolt that clamped the stem onto the handlebars was so rusty that I accidently stripped it. It's attached to the cart well, but it's kind of stuck that way...
     On the topic of handlebars, eight zip ties and the Mountain Bike's old handlebars make a very secure place for the passenger to hold on to.


Snazzy!


Another, less pretty angle.


Duct Tape worked as a rim tape substitute. Please note I am in no way recommending that you do this. If you can do anything on this blog better than I can, by all means, do. This is just on a No Dollar Budget.


The wheel inflated and ready to Roll. I'm sorry.


Jeffrey tightening the fork's hose clamps. Tight now there are only two, but eventually we'll have more, and more secure connections.


Passenger's bars/grips. I hadn't imagined how terrifying it would be to ride in the cart until after testing.

Thursday, August 25, 2011

Day Nine

     Today was a productive day. I set up the shopping cart, got the handlebars off, took off the front brakes, and attached the bike to the cart.
     To ready the cart, I took off the handle's plastic guard. I did this by prying it with a solid flathead screwdriver, and it's fairly easy, once you get the right leverage. It helps if you pry it from the spots where the plastic knobs on it are, the parts that prevent the handle from rotating around the handle. Then, I cut off the seat belt part off of the cart with few deft hacksaw cuts. I don't plan on using the it at all, and if for some reason I pick up an infant (please don't let me do this), I will have better means of transporting it. However, the bumpers on the front are going to be good to keep on, seeing how dangerous shopping cart corners are. I'm also going to be keeping the folding piece of plastic on, so I can flip it up to keep stuff from falling out of the seat if and when I use it. Of course, there are a couple coats of spray paint in it's future. 
     Taking the brake lever off was a bit of a challenge. The shifter came off easily but I had to pry the ring open to get it off the handlebars, the same situation with the stem clamp. I had to pry it open to get the handlebar out, I didn't want to have to deal with getting the grips off and that nonsense. I got it on the cart, but the handle was too far open for the bolt that held it closed to reach, judicious use of a hammer solved that problem. When I was lining up the stem and the cart, there was a piece of wire bent over in the center of the cart, and that made it easier to have it centered. I put the shifter and brake lever on, and called it a day. 


I'll be keeping this, but painting it none the less.


For safety's sake, the bumpers will stay.


Prying off the handle's plastic cover, there was a gap at the bottom for me, which simplified things greatly.


The handle after having the plastic removed, those holes will eventually get covered up.


The "seat belt" that needs to be removed.


Sweet! Buckle!


Cleaner, and better.


The problem with this cart is that it's designed to be stacked in rows, I'll hold that closed either with zip ties, hose clamps, or rebar.


The Handlebars that need to be removed.


These two I'll be using on the Cartbike. I already took off the front derailleur.


The stem's bolt was rusted to near disintegration, so WD-40 and a mallet were needed.


Another angle of it.


I don't understand why GT had the cable go through the stem, and not go all the way through the fork, it made getting the front brake off unnecessarily complicated and destructive.


The brake lever and the shifter taken off.


The fork after taking off the front brake, sanding off the rust and giving it a clear coat.


The stem attached to the cart!


The shifter and brake lever, groovy right-handed operation!


The bike as of now. No where near finished, but I feel like I've hit a milestone, and damn it feels good.

Wednesday, August 24, 2011

Day Eight

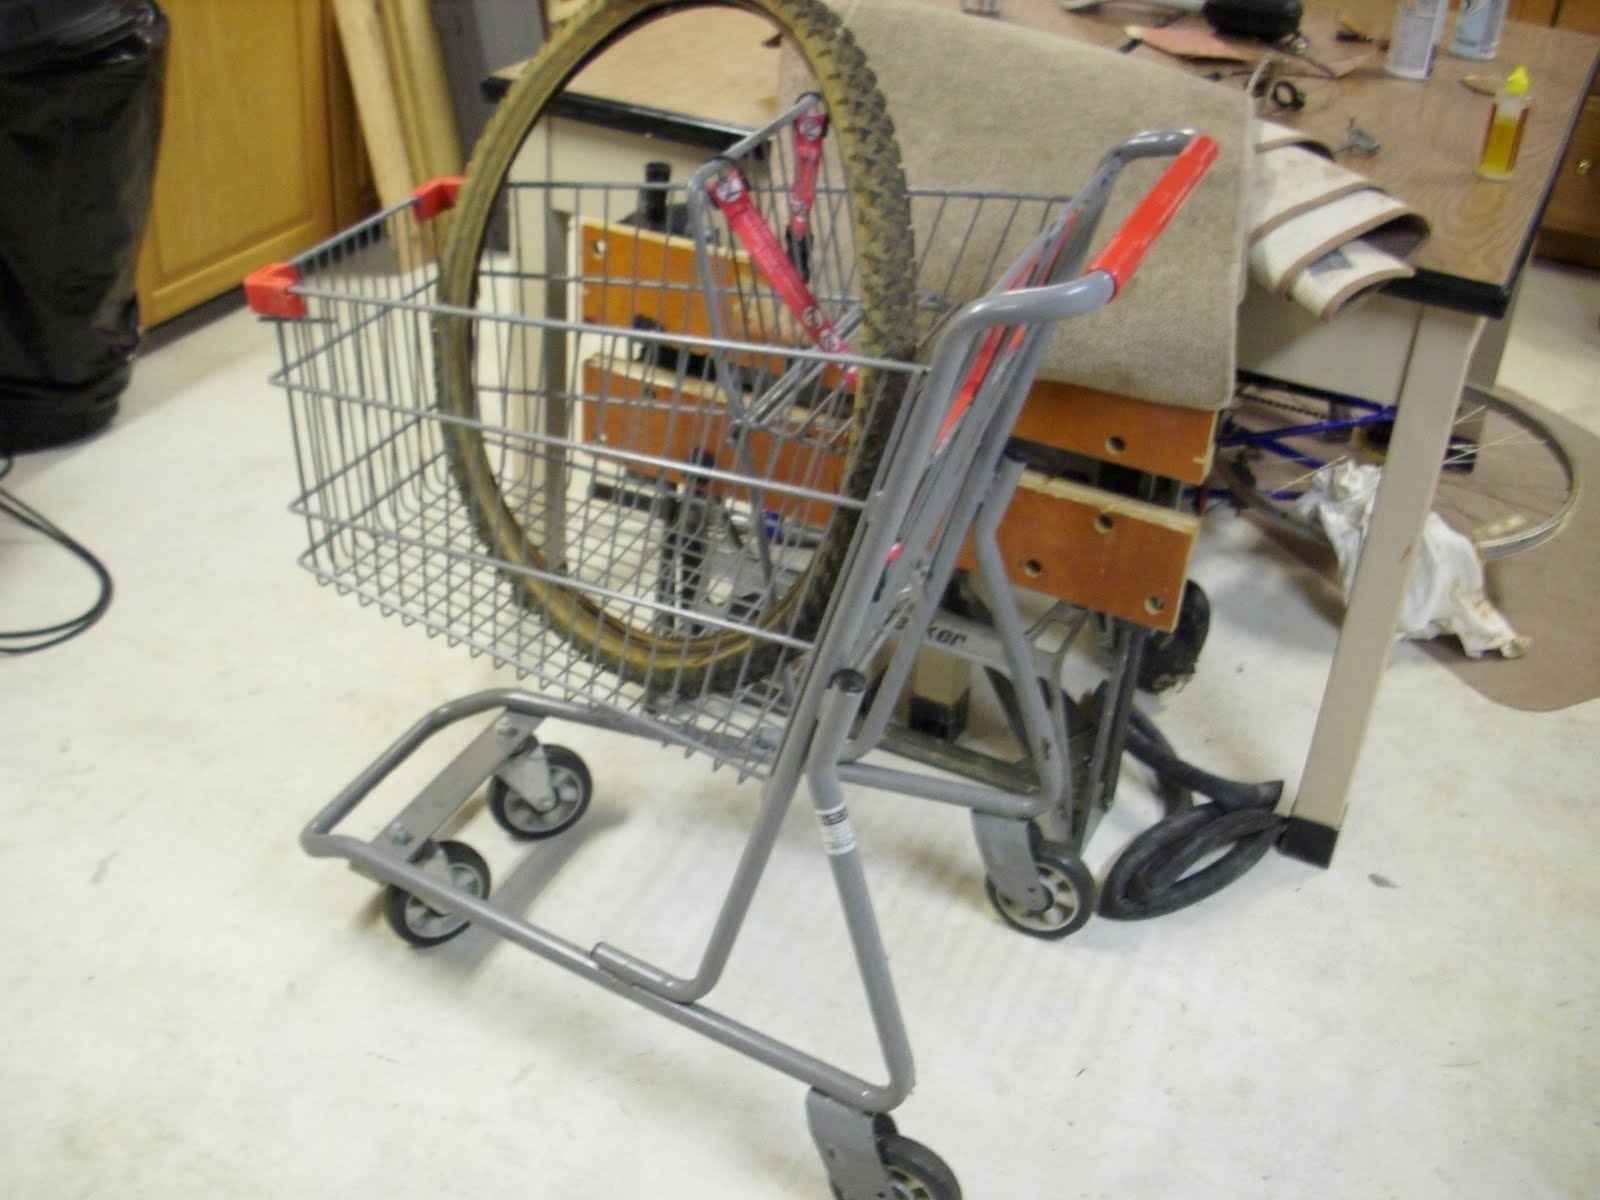
     Today started out uneventful, I just finished cleaning the chain and loosening up the stuck links, and lubed up the chain. However, just an hour ago, my friend showed me a cart he found in a park. It's a bit smaller than a full-sized cart, but I think that it makes it a bit more practical. Overall, it's 38 inches tall, and 32 inches long. The basket itself is 26 inches long, 12 inches deep, and 17 inches wide at the handle. It'll do just fine.
     Right now, I think that I'll keep the baby seat, because it's convenient in case I need to pick up infants, but more so that I can put food and stuff there and have it in easy access. However, it's time to knock off some plastic, attach the stem to the cart's handlebars, mount the brake levers and shifter, and then saw off the bottom of the basket, for improved clearance, and so that I can get more done before I get the forks, and avoid waiting.


[Right, the cart with a 26" Tire for size comparison.]